|
|
|
Wedding Cake Instructions for Deluxe Traditional Elegance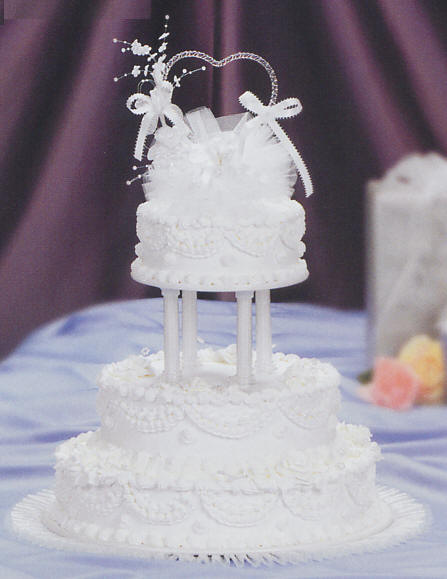 Wedding Cake Decorating Wedding Cake DecoratingEverything you need to get to the top fast. Everything you need to create beautiful wedding cakes. Each style has been designed for fast and easy decorating while offering tasteful elegance. Before you start: 1) Using white Frosting ice all the cakes 2) Mark each cake for scallops. A simple consistent method to
mark cakes for scallops is to
use a paper or Styrofoam cup. Cups come in many sizes and
diameters. Study the cups
you have available.
You may
find several sizes that make
perfect scallops for each size
cake you are marking. Cut the
cup in half and press the lip of
the cup gently against the icing. The indentation is a
guide to pipe your scallops
over. 3) Assemble the wedding cake following the cake stand assembling instructions. 4) Using pastry tip #87, pipe a ruffle scallop around all three cakes. 5) Using pastry tip #14, pipe a small shell above the ruffle scallop on all three cakes. 6) Using pastry tip #3, pipe 7 dots above the shell on all cakes. 7) Using pastry tip #14, pipe small rosettes between the scallops on the sides of the cakes. 8) Using pastry tip #104, pipe one full rose in between the columns of the 12-inch cake. 9) Using pastry tip #104, pipe rosebuds next to the rose and around the surface of the 12-inch cake. 10) Using pastry tip #67, pipe leaves around the rosebuds. 11) Using pastry tip #21, pipe a reverse shell border on the top and bottom borders of all three cakes. 12) Cut the pearl clusters in half and then place the halves around the roses, 3 pearl flowers on each strand. back Traditional Elegance Wedding Cake next Wedding Cake Instructions for 2 tier Traditional Elegance |
|
|
|